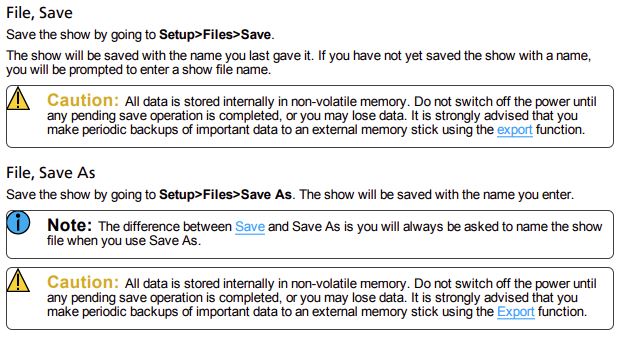
Before doing any changes to your desk, save the current show stored in the desk. When working on a desk, I save the desk show before doing any work on the desk as a unique file name, by using the school name with the previous days date and version 1. e.g. YourSchool21July2024v1. Then I can do any work required on the desk such as a software update or loading a new fixture profile or repatching fixtures, then saving the show file with the current date, e.g. YourSchool22July2024v1, then I can reload your show file if required.
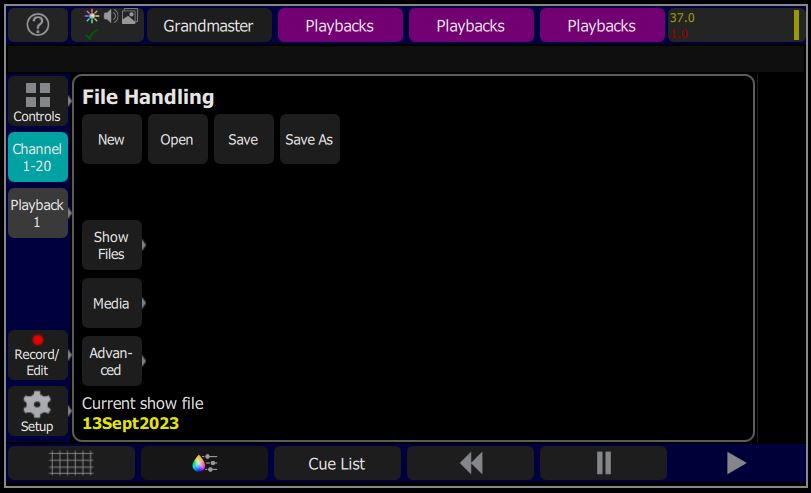
Go to Setup > Files > Save As.
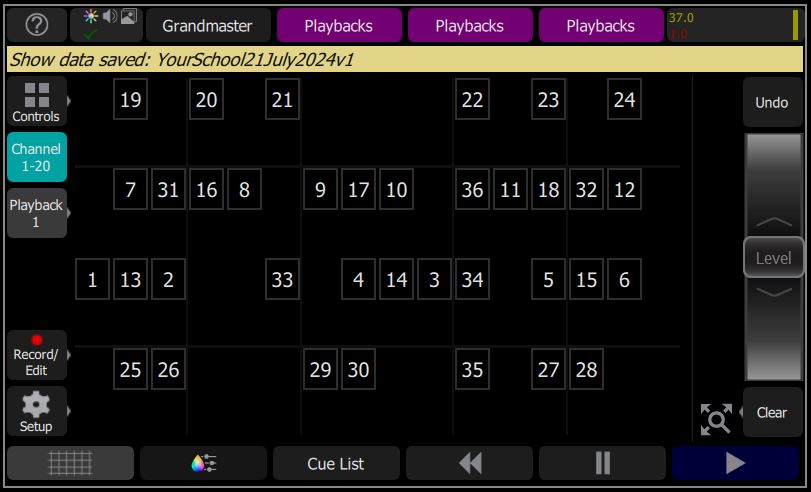
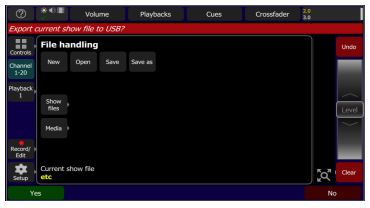
Then Export or Save to USB by going to Setup > Files > ShowFiles > Export, tap the Green CheckMark in the bottom left corner. Note: Exported shows contain all the media used in the show. If there is a large amount of image or audio clip content, the save may take some time to complete. Please ensure the USB drive has sufficient free space.
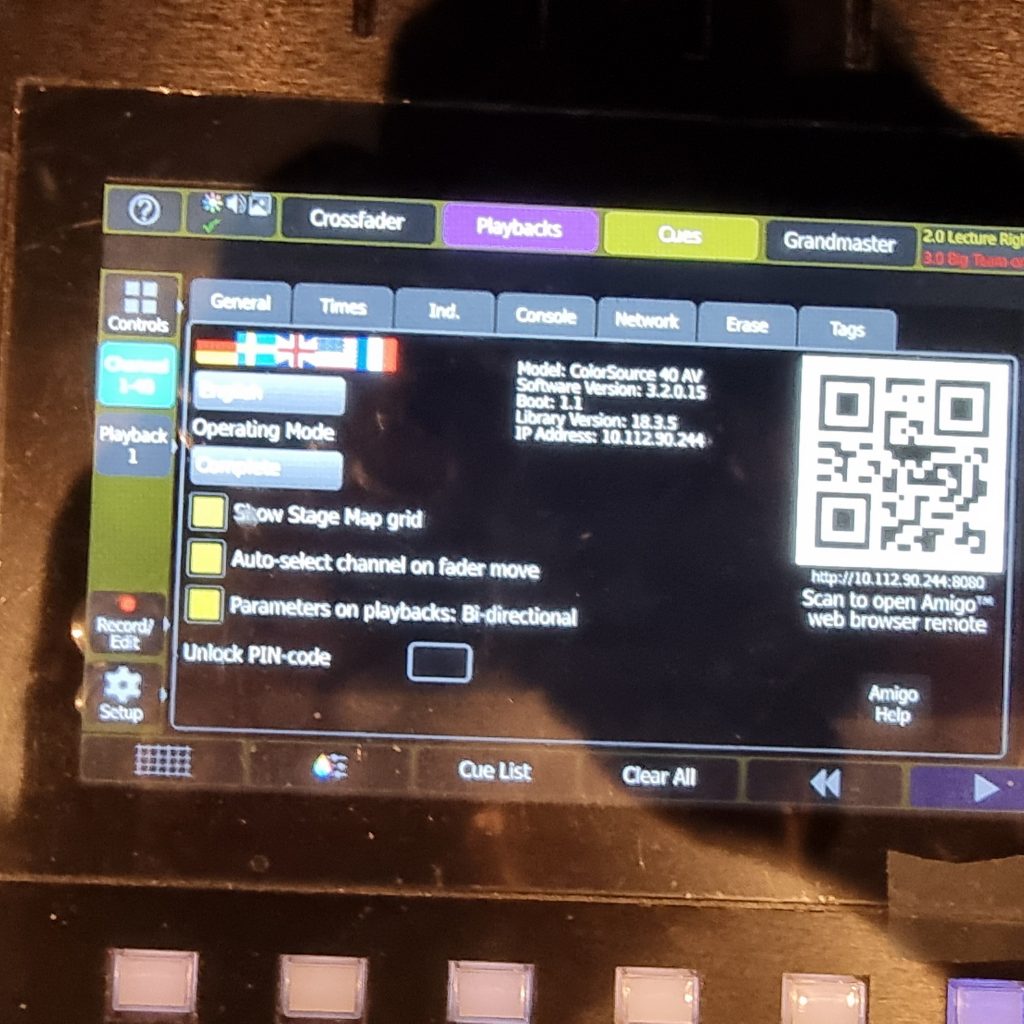
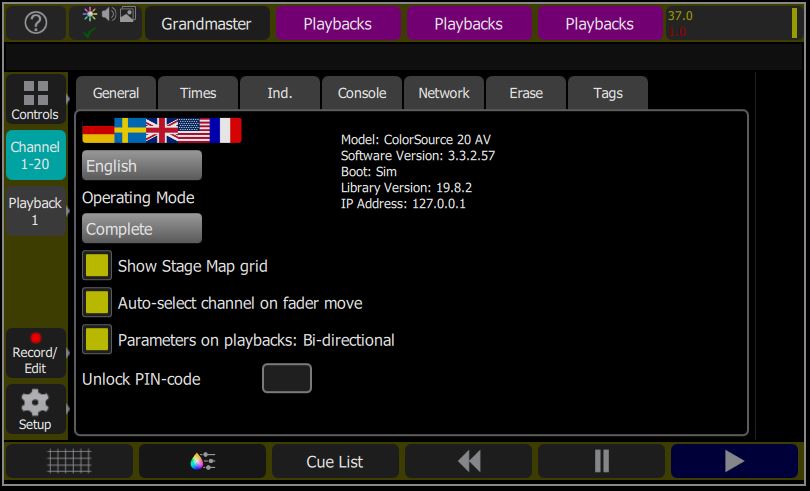
CHECK your desks Software Version Number and Library Version.
Click on the Setup> Settings > General to see your Software Version and Library Version.
Cautions
Some desk software desk updates have changes that allow new features, but, will not play some show files recorded using earlier software versions. To allow you to load these earlier show files into your desk, you may need to revert your desk software version back to the software version you were using when you recorded the show. You may have to load fixture files for any new fixtures you may want to use with the earlier software version version show file.
It is not wise to update your desk software to the latest version shortly before doing a show as there may be bugs in the new software. If you do want to do a software update, test your desk fully and run the show several times after powering down the desk to look for bugs. If you are wanting to do a software update to get new fixture files, load the fixture files or new library with your current desk software version to see if that is stable.
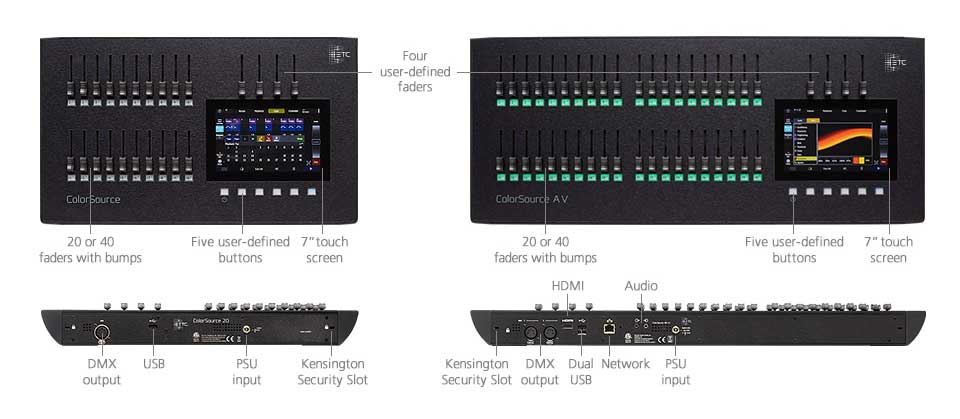
Update ColorSource Software
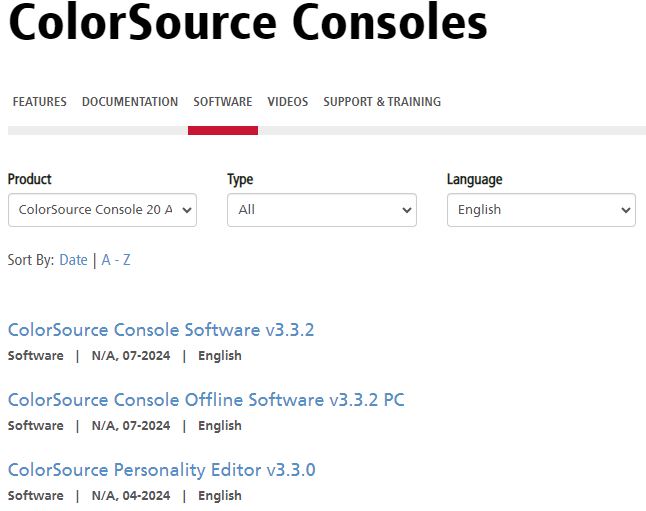
On a computer with internet access go to the software download page for ColorSource Console on our website and click on the file that says ‘ColorSource Console Software vX.X.X.’ to download the latest software version.
The file will download in a compressed folder. Unzip the file and move that .fw file to the root directory of a USB memory stick inserted into the computer.
Insert the USB memory stick into the USB port on the console.
On the console’s touchscreen, navigate to the update section via the following buttons: Setup -> Files -> Advanced -> Update Firmware.
You will get a prompt to update, which you will say ‘Yes’ to.
Once the install is complete, restart your console.
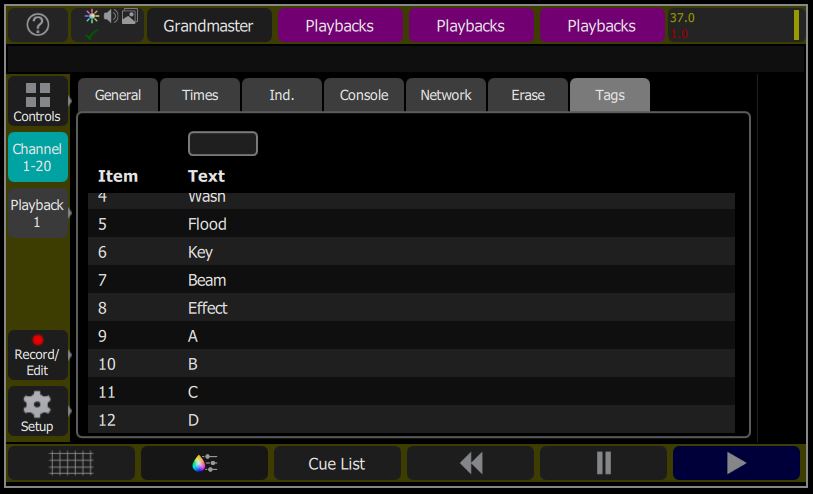
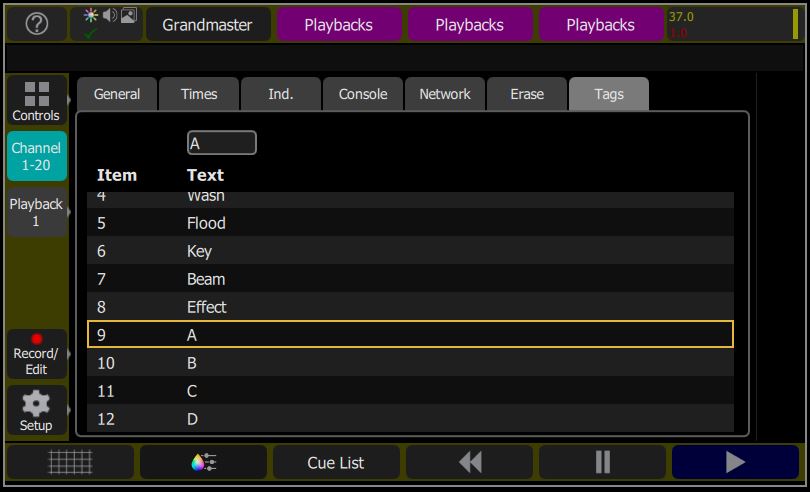
TAGS To rename or relabel a Tag: Go to Setup > Settings > TAGS Tab There is a blank box above Text.
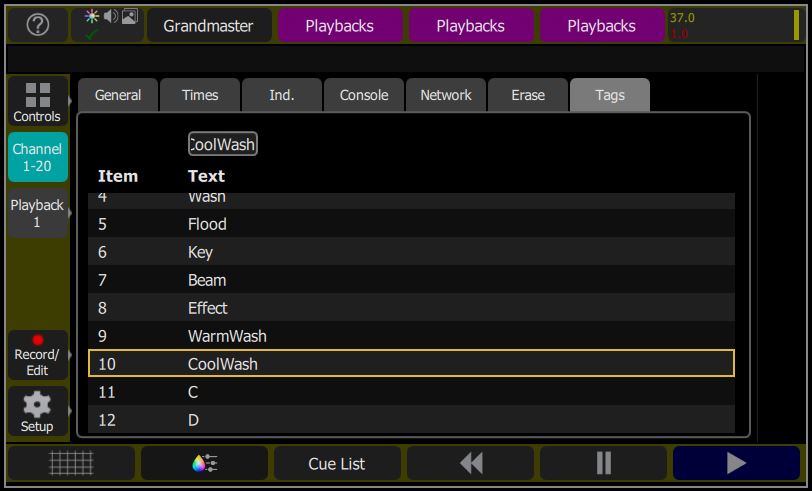
Select the TAG that you want to rename, in this example we are going to rename Tag A to CoolWash and Tag B to WarmWash. Then tap the box above the word “Text”, then type in your new text, then tap the Green Checkmark to save the change.
Tag A has been changed to WarmWash and Tag B to CoolWash.
Go back to Patch and you will see that the Tag has changed.
Select a fixture to see the DMX channel attributes. Setup > Patch > Select fixture > Show Universe. This changes the lower half of the Patch window between Stage Layout and DMX Channels. This picture shows the last three channels of the Pluto2000 in the Library Version 18.3.5 are ch18 – Strobe, ch19 – Zoom, ch20 – Control.